Have you ever come across a bare wall in need of decorating? Perhaps you only have next to nothing for a housewarming present or have just moved into your first apartment and don’t know what to do with the walls. Well this blog post will not only provide an answer but also show you what it looks like when done correctly! All you’ll need is some paint and ceiling tiles or wall stencils, so keep reading to see how easy it can be.
If the walls are already painted, you’ll need to remove everything first. You can always use a large paint scraper or putty knife to help but you’ll have to be careful not to damage the wall surface if it’s not finished or painted right. Be sure not to leave behind any paint splatters because they will show up really badly once you start painting.
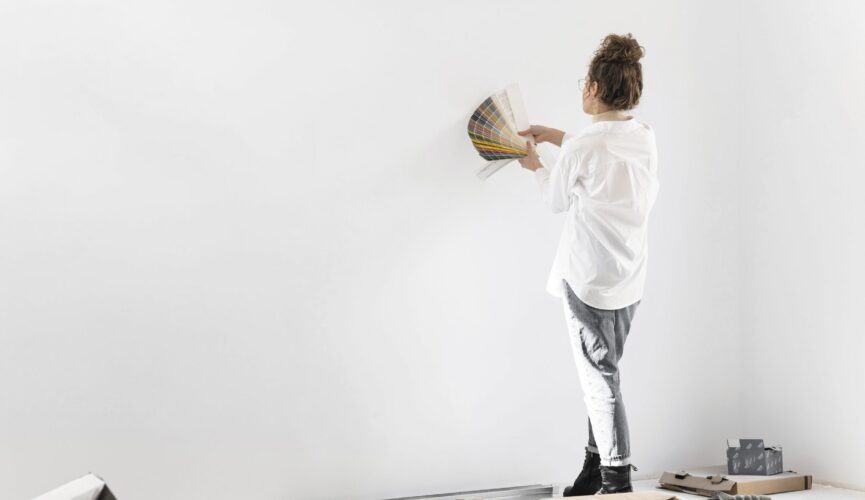
After removing all the old color from the wall and getting rid of all paint splatters, prime the wall one more time with a primer that matches your desired texture and color scheme. If the wall is only bare plaster or drywall, you can skip the primer step. If it’s a lighter color, you can use a tinted primer such as Krylon’s Base Coat to help it blend better with your future color. It will also give you a better base for your next layers of paint to stick to.
Now that the wall is primed and paint free, it’s time to start adding your texture and color. I used three different shades of a paint called Valspar’s Marquee Metallic on my drywall kickboards above. The lightest shade was applied first, followed by the medium tone then the darkest shade was painted over last. Make sure you get the wall completely covered with paint before trying to add any texture or color. You’ll have better results if you choose a darker shade of primer to create your desired color.
Once you finish priming, get yourself some wall stencils and find something to stick them on that won’t move around. It doesn’t have to be anything fancy as long as it will hold the stencil in place while you’re applying your paint. I used some painters tape attached to the top horizontal bar of my ladder then laid a piece of wood over the painted wall.
Over the course of about three days, I painted each layer of paint. In between layers I would usually wipe off any dust or debris to help make it look less messy. The exposed drywall on a bare wall can turn into a spotty mess that looks unfinished and unattractive so be sure to seal your drywall with a good quality caulk for a professional finished look.
You can use large stencils to apply textured designs or simple tiles that you cut out with an x-acto knife. You can also stencil things like your favorite sports team or movie quote with vinyl decals. If you’d rather not use stencils, there are plenty of other creative ways to cover the wall including rope molding.
After your finishing touches are all complete, you can use a texturizing spray to make the paint look like it’s actually on the wall. You can find them at any art or hobby store for about $15 and use them to apply rocks, moss, tree branches and even sand from beaches. Now your walls will have style with a little extra color!
Bottom line
After reading this article, you now know how to apply texture and color to a bare wall. You don’t have to be an expert in order to transform your home into a place of cozy warmth and beauty. Experiment with different colors and textures as they will make everything in your home look more distinctive!